Peace lily pests and diseases, identified early.
Most peace lily pest problems are easier to fix when you catch them on leaf undersides, in leaf joints, or at the soil surface before the whole plant is stressed.
Pest check
- First move
- Isolate the plant from nearby houseplants until you know what is happening.
- Most common indoor pest
- Mealybugs are common on peace lilies; check leaf joints and undersides.
- Wet-soil warning
- Fungus gnats often mean the potting mix is staying too wet.
- Treatment rule
- Repeat treatments weekly until new damage stops and no pests are visible.
Spider mites
Fine webbing, pale stippling, and dry-air stress.
Mealybugs
White cottony clusters in protected leaf joints.
Fungus gnats
Small black flies that point to damp organic soil.
Leaf spot
Brown lesions, yellow halos, and sanitation needs.
Isolation cleanup
Quarantine, wipe-downs, repeat checks, and safe return.
How to inspect a peace lily
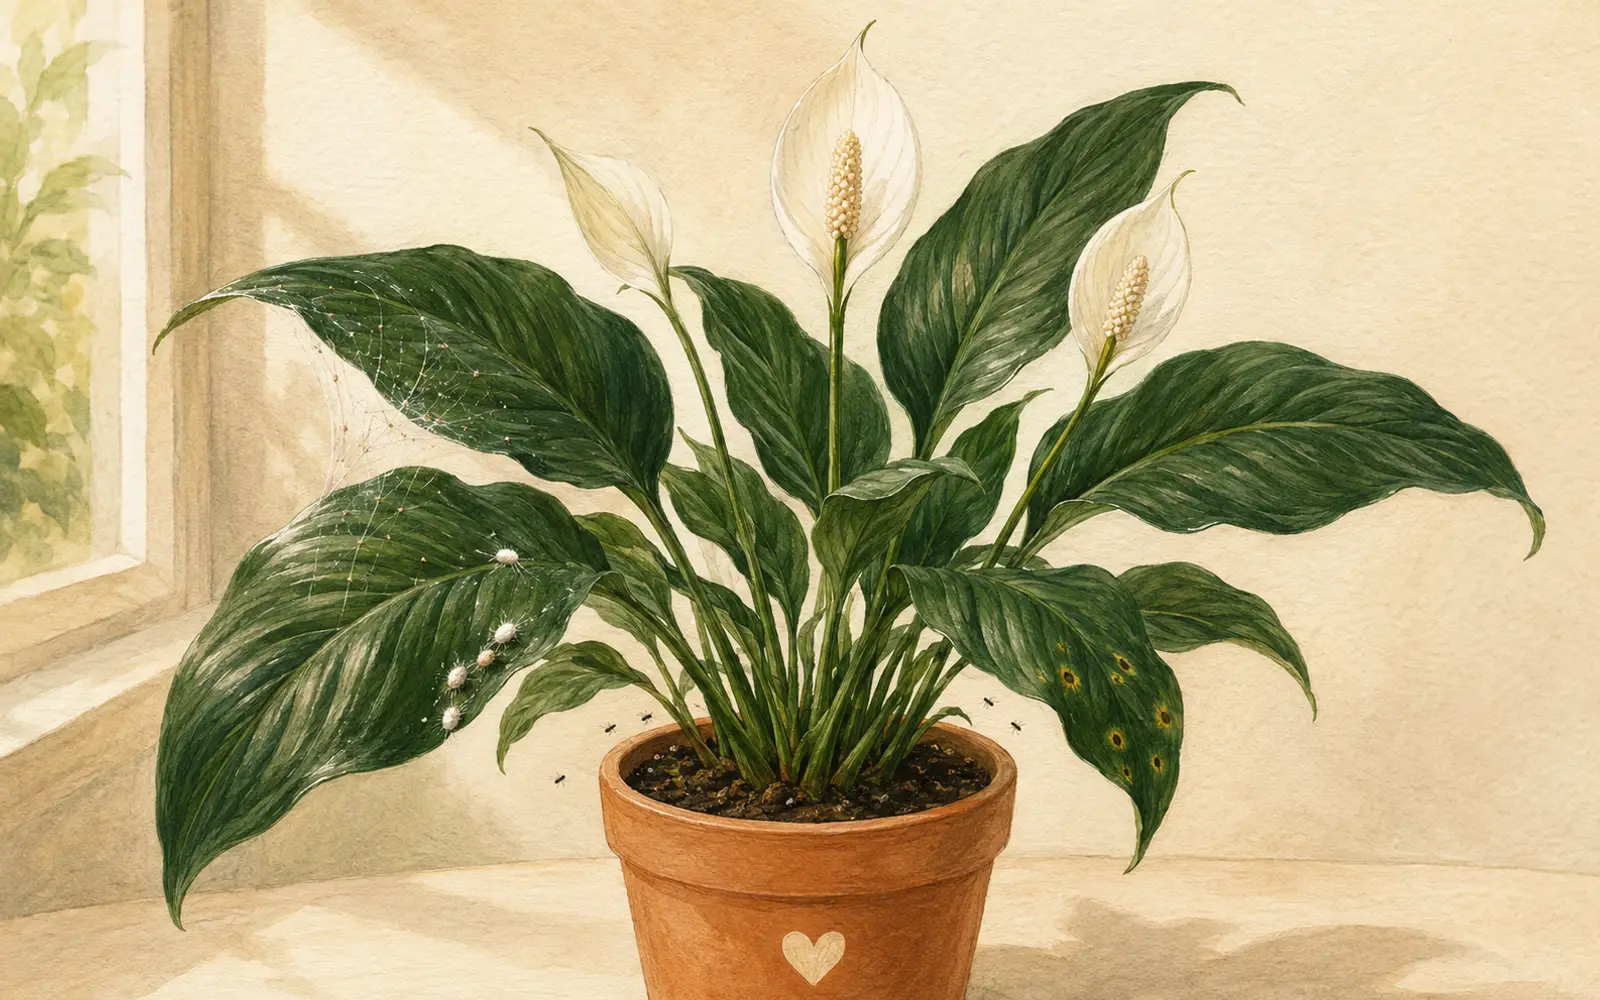
Peace lily leaves are broad, glossy, and layered, which gives pests protected places to hide. Look under leaves, along the midrib, where the leaf stem meets the crown, and at the soil surface. Use a flashlight if the plant is dense. Sticky residue, webbing, cottony tufts, moving specks, or new distorted growth all matter.
Also check the care conditions. Dry air favors spider mites. Overly wet soil favors fungus gnats and root problems. Crowded foliage and wet leaves can make leaf disease more likely. The pest is the thing you see; the care condition is often why it got comfortable.
If the problem may have spread beyond your peace lily, this broader houseplant pest identification library covers pests on many indoor plants, including scale insects, aphids, thrips, whiteflies, and root mealybugs.
Brown tips from dry air or mineral buildup will not improve with pest spray. Wet-soil root damage will not improve with leaf cleaning. Identify the pattern before treating.
A safe treatment order
- Isolate the plant. Move it away from other houseplants while you inspect and treat.
- Remove the worst material. Cut badly damaged leaves or spent blooms if they are harboring pests.
- Clean leaves physically. Wipe broad leaves with a damp cloth, including undersides.
- Treat the specific pest. Use the narrowest treatment that matches the pest you found.
- Repeat and watch new growth. Most pests need repeat treatment because eggs and hidden insects survive the first pass.
Prevention that actually helps
Quarantine new plants for a week or two before placing them beside your collection. Clean leaves when they get dusty. Avoid keeping the pot soggy. Give the plant enough light to use water. Check leaf undersides when you water, not only when the plant already looks bad.
If pests return repeatedly, look beyond the peace lily. Nearby plants, old potting mix, standing water, and very dry rooms can keep the problem going.
Match the clue to the cause
- Fine webbing and speckled leaves: start with spider mites, especially in dry rooms.
- White cottony tufts: check for mealybugs in leaf joints and around the crown.
- Small black flies near the pot: fungus gnats, usually from damp organic mix.
- Round or irregular brown spots with yellow halos: possible leaf spot, especially with wet leaves or poor airflow.
- Sticky leaves: look for sap-feeding insects and inspect nearby plants too.
When to cut leaves off
Remove leaves that are heavily damaged, collapsing, or covered with pests you cannot clean. Keep mildly marked leaves if they are still green and helping the plant. A stressed peace lily needs some leaf surface to recover, so do not strip it bare for cosmetic reasons.
When a plant needs stronger action
If pests keep returning after several careful treatments, unpot the plant and check the crown, roots, and potting mix. Mealybugs can hide deep in the crown, and fungus gnats can continue if larvae are feeding in constantly damp soil. Sometimes the fix is not another spray; it is fresh mix, better drainage, a drier watering rhythm, and more light.
Discarding a plant is a last resort, but it can be reasonable if a badly infested plant is threatening a larger collection and has little healthy growth left.
Sources & further reading
- NC State Extension Gardener Plant Toolbox — Spathiphyllum pest and care notes.
- UF/IFAS Gardening Solutions — Peace Lily.